Prototyping is an essential step in product development, helping designers and engineers test ideas, refine designs, and identify potential issues before committing to full-scale production. 3D printing has changed how prototyping is done by offering a faster, more cost-effective, and flexible way to create physical models. Businesses and individuals now have access to advanced manufacturing techniques without the need for expensive tooling or lengthy production cycles.
Understanding when to use 3D printing for prototyping and what to expect from different processes can help ensure that the chosen method aligns with project goals.
When to Use 3D Printing for Prototyping
Not every prototype requires 3D printing, but there are situations where it provides significant advantages over traditional manufacturing.
Early-Stage Concept Models
During the initial phases of development, quick prototypes help visualize ideas, test form and fit, and explore different design directions. 3D printing allows for the rapid creation of these models, often in a matter of hours, making it easier to iterate and refine concepts without high costs or delays.
Functional Testing
Prototyping is not just about appearance; in many cases, parts need to be tested for functionality, mechanical strength, and durability. Technologies such as SLS and Multi Jet Fusion (MJF) can produce parts from strong engineering-grade materials like nylon, which enables realistic testing before finalizing the design.
Complex Geometries That Are Hard to Manufacture Traditionally
Some prototypes involve intricate shapes, internal channels, or interlocking components that would be difficult or expensive to produce with conventional machining or molding. 3D printing makes it possible to manufacture these complex designs in one step, removing assembly requirements and reducing production time.
Low-Volume Prototyping Before Mass Production
Before investing in large-scale manufacturing, many businesses choose to create small batches of prototypes to test in real-world conditions. This approach allows for performance evaluations, customer feedback, and design tweaks before committing to expensive molds or machining.
What to Expect from Different 3D Printing Technologies
Choosing the right 3D printing method for prototyping depends on the specific requirements of the part, including strength, detail, and material properties.
Fused Deposition Modeling (FDM)
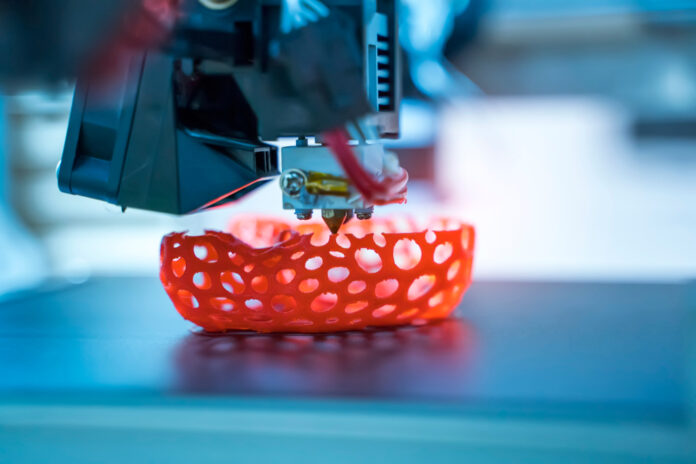
FDM is widely used for basic prototypes due to its affordability and accessibility. It works by melting and extruding plastic filament layer by layer, creating solid parts. While not the best for fine details or smooth surfaces, it is a great option for quick and budget-friendly concept models.
Stereolithography (SLA)
SLA produces high-resolution prototypes with smooth finishes by curing liquid resin with a UV laser. It is ideal for projects that require visual accuracy, such as presentation models, but the materials may be brittle compared to other methods.
Selective Laser Sintering (SLS)
SLS uses a laser to fuse powdered material into solid parts, producing durable and complex components without the need for support structures. It is commonly used for functional prototypes that require strength, flexibility, and detailed geometries. More information on this technology can be found at how to 3D print SLS page.
Multi Jet Fusion (MJF)
MJF is similar to SLS but offers finer control over material properties and can produce parts with more uniform mechanical characteristics. This method is often chosen for prototypes that will closely resemble final production parts.
Cost and Lead Time Considerations
One of the biggest advantages of 3D printing for prototyping is cost savings compared to traditional methods. Since no molds or special tooling are required, upfront expenses are lower, especially for small batches or one-off prototypes. However, pricing varies depending on factors such as material selection, part size, and printing technology.
Turnaround times also depend on the chosen method and service provider. Basic FDM prints and high-detail SLA may be completed in a day, while strong SLS parts may require around 2 days to manufacture. Working with experienced professionals helps ensure the right balance between speed, cost, and quality.
More details on professional 3D printing services can be found https://www.upsideparts.com/3d-printing.
Making the Most of 3D Printing for Prototyping
To get the best results from a 3D-printed prototype, it is important to consider several key factors:
- Design Optimization: Preparing a CAD model with 3D printing in mind helps prevent issues such as warping, weak joints, or unnecessary supports.
- Material Selection: The right material choice ensures the prototype meets functional needs, whether it requires flexibility, rigidity, or heat resistance.
- Post-Processing Needs: Depending on the printing method, post-processing steps like sanding, painting, or assembly may be required to achieve the final desired result.
- Iterative Testing: One of the strengths of 3D printing is the ability to refine designs quickly. Taking advantage of this by testing and adjusting multiple iterations leads to better outcomes.
3D printing continues to revolutionize prototyping by offering unmatched speed, flexibility, and cost-efficiency. By understanding when to use it and how different methods compare, designers and engineers can make informed choices that bring innovative ideas to life faster than ever.

